This post may contain affiliate links. We may earn a small commission at no extra cost to you. See our disclosure policy.
Picture this: you’re scrolling through your Instagram feed and notice every celebrity from Bella Hadid to Margot Robbie sporting that effortlessly chic, just-stepped-out-of-the-ocean vibe. The wet hair look has officially taken over red carpets, runways, and street style scenes, proving that sometimes the best hairstyles are the ones that look like you didn’t try at all. But here’s the thing – achieving that perfect balance between sleek sophistication and beachy texture isn’t as simple as dunking your head in water and calling it a day. The key lies in the right products, techniques, and timing to create a look that’s polished enough for date night yet relaxed enough for weekend brunch.
Table of Contents
- Start with Damp Hair and Apply Heat Protectant for Best Results
- Master the Scrunching Technique with Sea Salt Spray for Natural Texture
- Use Gel and Mousse Combo to Lock in That Just Out of the Shower Shine
- Q&A
- In Retrospect
Start with Damp Hair and Apply Heat Protectant for Best Results
Working with slightly damp hair is absolutely crucial for achieving that perfect wet hair look that lasts all day. Your hair should feel moist to the touch but not dripping wet – think about 60-70% dry after towel-drying. This optimal moisture level allows styling products to distribute evenly and creates the foundation for that glossy, just-stepped-out-of-the-shower appearance. If your hair is too wet, products will slide right off, and if it’s completely dry, you’ll struggle to achieve that natural wet sheen.
Heat protectant is non-negotiable when creating the wet hair look, especially if you plan to use a blow dryer or diffuser to set your style. Even though you’re aiming for a “wet” appearance, many techniques involve some heat styling to lock in the look and prevent frizz. Apply your heat protectant from mid-length to ends, avoiding the roots if you have fine hair, as this can weigh down your style.
| Hair Type | Dampness Level | Best Heat Protectant Type |
|---|---|---|
| Fine Hair | 70% dry | Lightweight spray |
| Thick Hair | 60% dry | Cream or serum |
| Curly Hair | 50-60% dry | Leave-in treatment |
- Test the dampness: Hair should spring back when gently stretched
- Section application: Apply heat protectant in 2-inch sections for even coverage
- Wait time: Let heat protectant absorb for 30 seconds before styling
- Product pairing: Choose heat protectants with shine-enhancing ingredients like [PRODUCT LINK: Tresemme Thermal Creations Heat Tamer Spray]
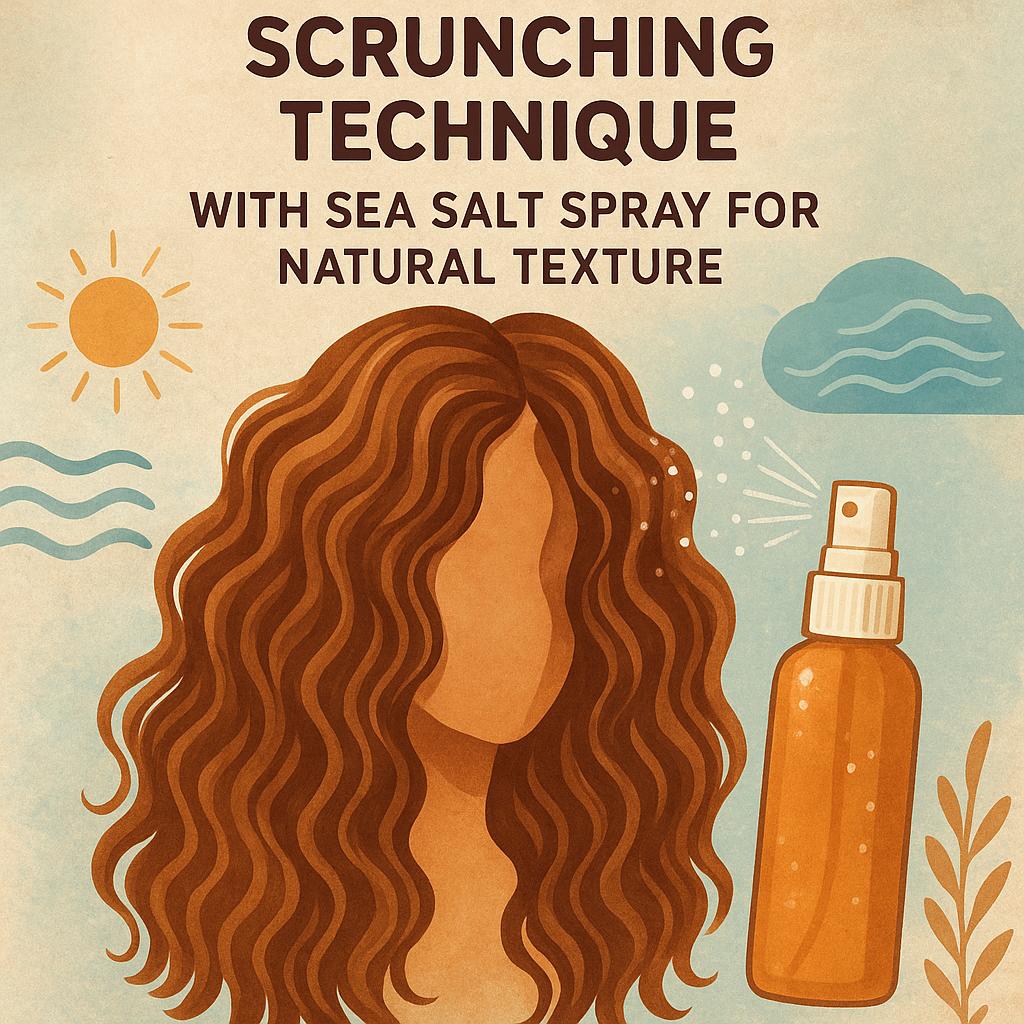
Master the Scrunching Technique with Sea Salt Spray for Natural Texture
Sea salt spray is your secret weapon for achieving that effortlessly tousled, beachy texture that perfectly mimics the wet hair look. The scrunching technique works by encouraging your hair’s natural wave pattern while the salt spray adds grip and definition. Start with damp hair that’s about 80% dry – this gives the spray something to work with while preventing that crunchy, over-styled feeling.
Apply 2-3 pumps of sea salt spray evenly throughout your mid-lengths and ends, avoiding the roots to prevent weighing down your hair. Work the product through gently with your fingers, then begin the scrunching motion. Cup sections of your hair in your palm and gently squeeze upward toward your scalp, holding for a few seconds before releasing. This motion activates the salt crystals and encourages natural texture formation.
- Use the “squeeze and release” motion – never twist or pull your hair
- Focus on mid-lengths to ends where you want the most texture
- Scrunch in an upward motion to create volume at the roots
- Let each section air dry between scrunches for maximum hold
| Hair Type | Spray Amount | Scrunching Time |
|---|---|---|
| Fine Hair | 1-2 pumps | 3-5 minutes |
| Medium Hair | 2-3 pumps | 5-7 minutes |
| Thick Hair | 3-4 pumps | 7-10 minutes |
Pro Tip: For extra hold and shine that mimics wet hair, try [PRODUCT LINK: Bumble and bumble Surf Spray] or [PRODUCT LINK: Ouai Wave Spray] – both contain conditioning agents that prevent the crispy texture some salt sprays can create.
Use Gel and Mousse Combo to Lock in That Just Out of the Shower Shine
The magic happens when you combine the lightweight hold of mousse with the sleek control of gel to create that coveted just-stepped-out-of-the-shower glow. Start by applying a golf ball-sized amount of volumizing mousse from mid-length to ends on damp hair, scrunching gently to enhance your natural texture. Follow immediately with a nickel-sized amount of medium-hold gel, focusing on the top layers and crown area where you want maximum shine and control.
The key to this technique is working quickly while your hair is still quite damp – about 70% wet is perfect. Use your fingers to rake the products through, then scrunch upward to encourage natural wave patterns. For straight hair, smooth the combo through with a wide-tooth comb for sleeker results. The mousse provides body and prevents the gel from weighing your hair down, while the gel locks in moisture and creates that glossy, wet-look finish that lasts all day.
| Hair Type | Best Mousse | Best Gel | Application Ratio |
|---|---|---|---|
| Fine Hair | Volumizing mousse | Light-hold gel | 2:1 mousse to gel |
| Thick Hair | Smoothing mousse | Strong-hold gel | 1:1 ratio |
| Curly Hair | Curl-enhancing mousse | Curl-defining gel | 1:2 mousse to gel |
Pro Tip: Apply the products in sections using the “praying hands” method – smooth your palms together with product and press them against each section of hair rather than scrunching, which can cause frizz and disrupt the sleek wet look you’re after.
Q&A
Frequently Asked Questions
Q: What products work best for creating the wet hair look?
Hair gel, pomade, and wet-look styling creams are your go-to products for this style. For fine hair, try a lightweight gel, while thicker hair works well with pomade or heavy-duty styling gel. Always apply products to damp hair for the most natural-looking results.
Q: How long does the wet hair look last throughout the day?
With the right products and application technique, the wet hair look can last 6-8 hours or even all day. Using a strong-hold gel or pomade and avoiding touching your hair will help maintain the style longer. A light mist of hairspray can also help lock in the look.
Q: Can I achieve the wet hair look on dry hair?
While it’s possible, the results won’t be as authentic or long-lasting as starting with damp hair. If your hair is completely dry, lightly mist it with water before applying your styling products. The moisture helps distribute the product evenly and creates that genuine wet appearance.
Q: Will the wet hair look damage my hair if I do it frequently?
The wet hair look itself won’t damage your hair, but some styling products can cause buildup over time. Use a clarifying shampoo once a week to remove product residue and always choose quality, alcohol-free styling products when possible.
Q: What’s the difference between the wet look and greasy-looking hair?
The wet look appears sleek and intentional with even product distribution, while greasy hair looks unwashed and has an uneven, oily texture. The key is using the right amount of product and combing it through evenly from roots to ends. Less is often more when creating this sophisticated style.
In Retrospect
The wet hair look is surprisingly simple to achieve with the right products and techniques – whether you prefer gel for a sleek finish or mousse for natural texture, the key is working with damp hair and scrunching or smoothing from roots to tips. With just a few minutes of styling, you can create an effortlessly chic look that works for any occasion.
Ready to rock that fresh-from-the-shower glow? Try these tips on your next wash day and watch heads turn! Pin this for later so you’ll have the perfect reference for your wet hair styling routine!
Loved these tips? Save this post to your Pinterest hair board and share it with a friend who needs a hair refresh!