This post may contain affiliate links. We may earn a small commission at no extra cost to you. See our disclosure policy.
Picture this: you’re scrolling through Instagram, admiring those effortlessly tousled waves on your favorite influencer, when you realize your curling iron died last night and you have zero time to replace it. Sound familiar? Here’s the plot twist that’ll save your styling game – you can create stunning loose curls with a flat iron using nothing more than the straightener already sitting in your beauty arsenal.
This technique has been quietly revolutionizing hair routines everywhere, and once you master it, you’ll wonder why you ever needed multiple hot tools cluttering your vanity. The best part? These flat iron curls often last longer than traditional curling methods and give you that coveted “undone” texture that looks naturally gorgeous rather than overly polished.
Table of Contents
- Choose the Right Flat Iron Width for Effortless Loose Curls
- Prep Your Hair with Heat Protectant and Texturizing Spray
- Master the Twist and Glide Technique for Natural Looking Waves
- Q&A
- Wrapping Up
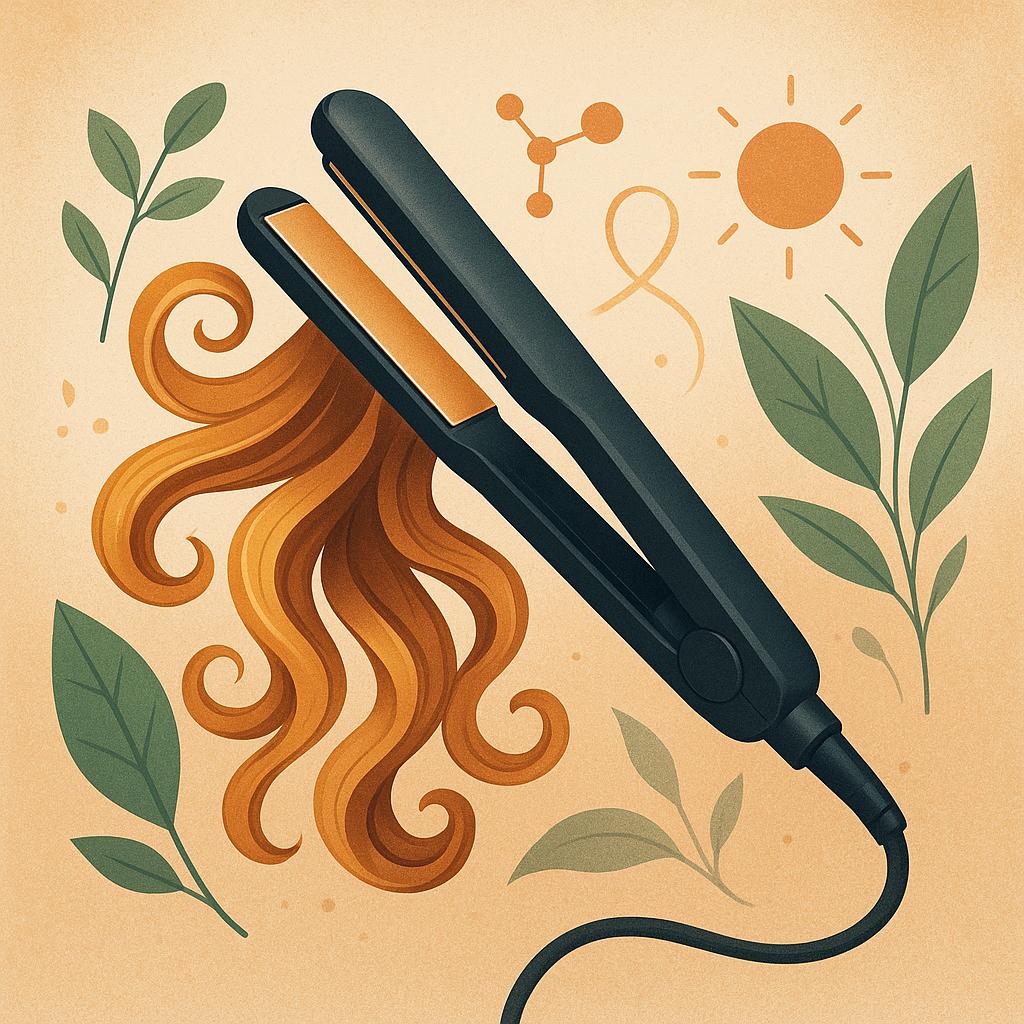
Choose the Right Flat Iron Width for Effortless Loose Curls
The width of your flat iron plays a crucial role in achieving those enviable loose curls you’re after. Wide plates (1.5-2 inches) are perfect for creating relaxed, voluminous curls on long or thick hair, while narrow plates (1 inch or less) work best for shorter hair or when you want more defined spiral curls. Think of it this way: the wider the plate, the looser and more natural-looking your curls will be.
Your hair length and texture should guide your flat iron choice. If you have fine or damaged hair, stick with a 1-inch plate to maintain better control and prevent excessive heat exposure on each section. For thick, coarse, or long hair, wider plates will help you work faster while creating beautiful, bouncy curls that last all day.
| Hair Length | Hair Type | Recommended Width | Curl Result |
|---|---|---|---|
| Short to Medium | Fine/Thin | 1 inch | Defined loose curls |
| Medium to Long | Thick/Coarse | 1.5-2 inches | Relaxed, voluminous waves |
| Any Length | Normal/Medium | 1.25 inches | Versatile loose curls |
Pro Tip: If you’re investing in just one flat iron, go with a 1.25-inch plate width – it’s the sweet spot that works beautifully for most hair types and lengths, giving you gorgeous loose curls without being too limiting. Consider top-rated options like [PRODUCT LINK: BaBylissPRO Nano Titanium Flat Iron] for professional-quality results at home.
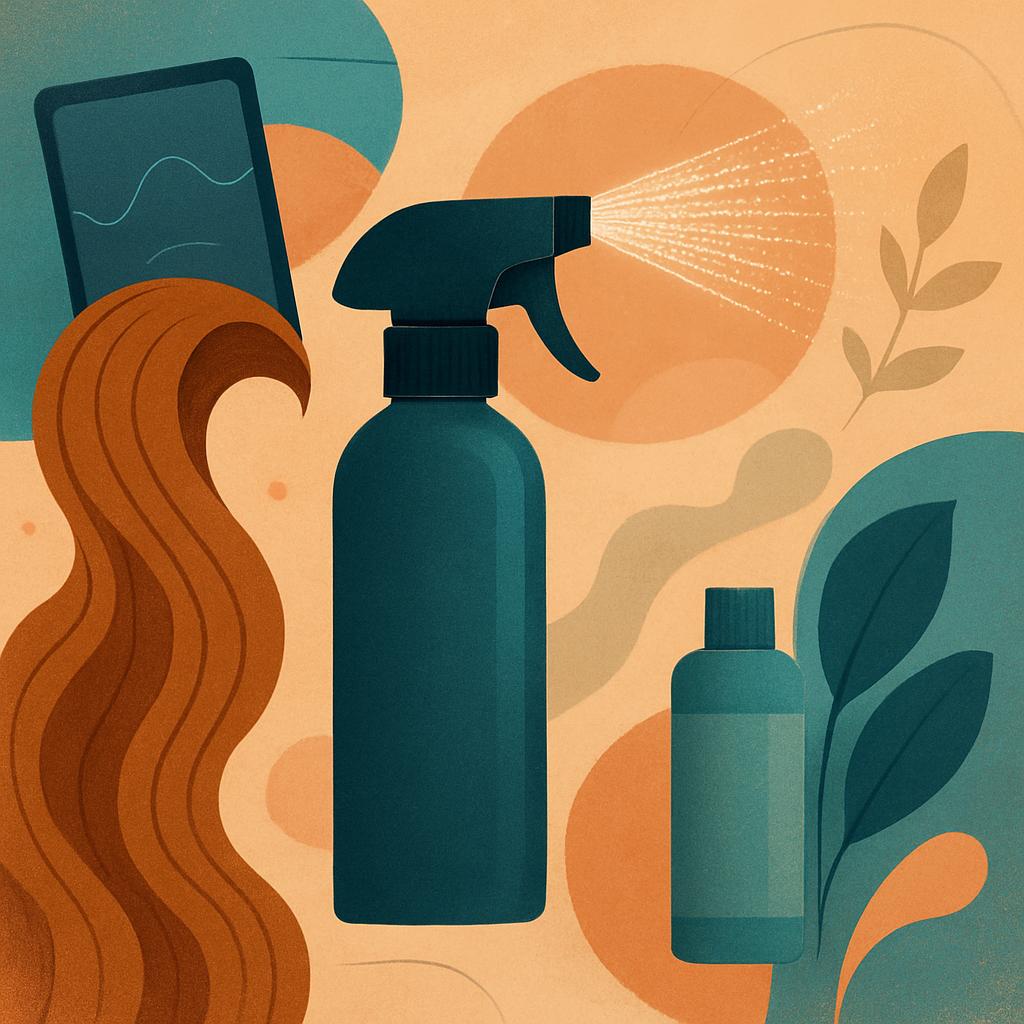
Prep Your Hair with Heat Protectant and Texturizing Spray
Before you even think about touching that flat iron to your strands, you need to create the perfect foundation for gorgeous, bouncy curls. Heat protectant isn’t just a nice-to-have product – it’s your hair’s best friend when it comes to preventing damage from high temperatures. Look for formulas that offer protection up to 400°F and contain nourishing ingredients like argan oil or keratin. Apply the protectant to damp hair, working it through from mid-length to ends, and make sure every strand is covered before you start blow-drying.
Texturizing spray is your secret weapon for creating curls that actually last and have that perfect lived-in texture we’re all after. This magical product adds grip to your hair, making it easier for the flat iron to create defined curls that won’t fall flat within an hour. Spray it onto dry hair just before styling, focusing on the areas where you want the most texture and hold. The combination of heat protectant and texturizing spray creates the ideal canvas for loose, effortless-looking curls.
| Hair Type | Best Heat Protectant | Recommended Texturizing Spray |
|---|---|---|
| Fine Hair | Lightweight serum | Volumizing texture spray |
| Thick Hair | Cream-based protectant | Strong-hold texture mist |
| Damaged Hair | Protein-enriched formula | Nourishing texture cream |
Here’s your game plan for flawless application:
- Start with clean, towel-dried hair for optimal product absorption
- Apply heat protectant first – this creates a barrier between your hair and the flat iron
- Blow-dry completely before adding texturizing spray to avoid product buildup
- Use texturizing spray sparingly – a little goes a long way, and too much can weigh down your curls
Pro Tip: Apply your heat protectant in sections using a wide-tooth comb to ensure even distribution. This prevents some areas from being over-protected while others are left vulnerable to heat damage. For extra insurance, choose a [PRODUCT LINK: thermal protectant spray] that offers up to 450°F protection – your hair will thank you later, and your curls will look salon-fresh for days.
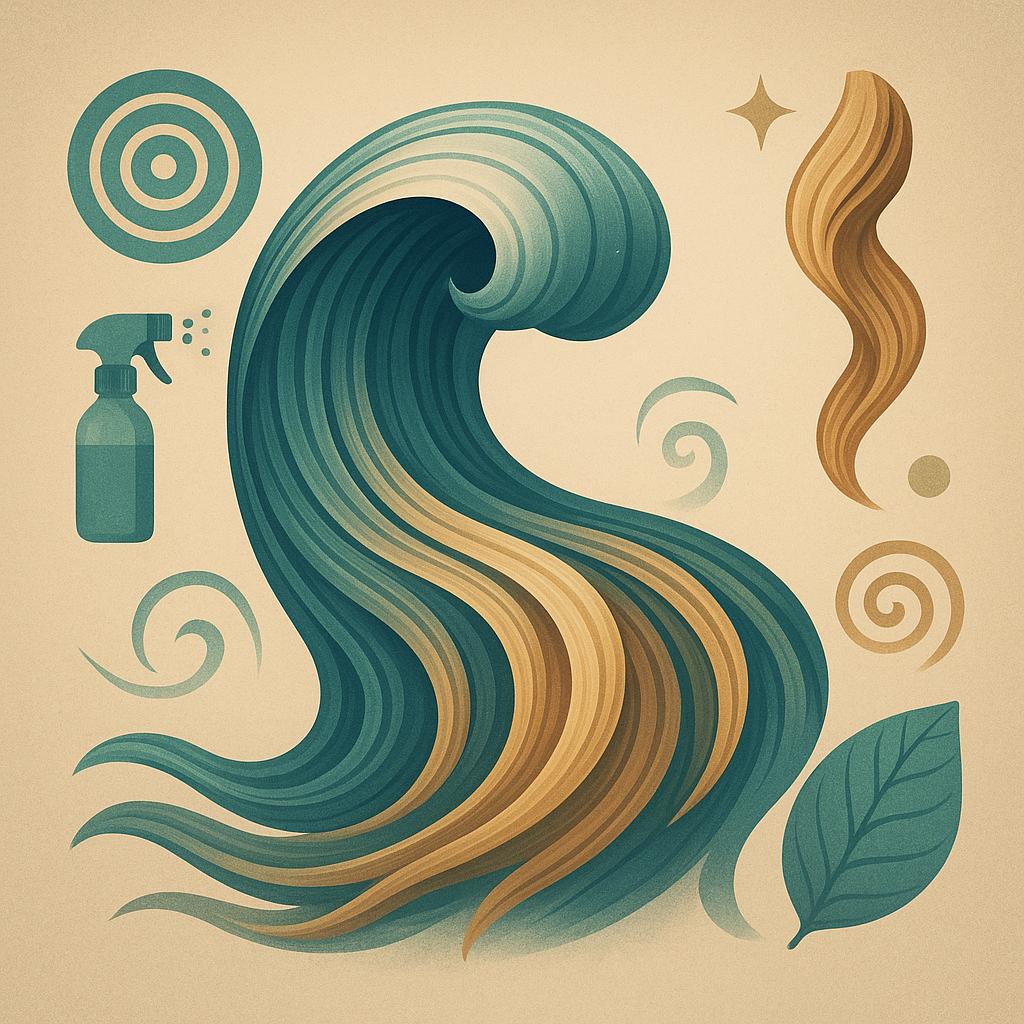
Master the Twist and Glide Technique for Natural Looking Waves
The twist and glide technique is your secret weapon for creating effortlessly gorgeous waves that look like you just rolled out of bed with perfect hair. Start by taking a 1-2 inch section of hair and clamping your flat iron about halfway down the strand. Twist your wrist away from your face while simultaneously gliding the iron down toward the ends – this dual motion is what creates that natural-looking bend without harsh creases.
The key to mastering this technique lies in your speed and pressure. Move the flat iron at a medium pace – too fast and you won’t get enough curl, too slow and you’ll create unwanted kinks. Keep consistent but gentle pressure on the plates, and remember that the angle of your twist determines the curl direction. For the most natural look, alternate the direction of your twists as you work around your head.
| Hair Type | Temperature Setting | Section Size | Speed |
|---|---|---|---|
| Fine/Thin | 300-320°F | 1 inch | Medium-Fast |
| Medium/Normal | 320-350°F | 1-2 inches | Medium |
| Thick/Coarse | 350-400°F | 2 inches | Medium-Slow |
Your flat iron choice makes a significant difference in achieving smooth, frizz-free waves. Look for plates that are 1-1.5 inches wide with rounded edges – the curved design helps the hair glide smoothly during the twist motion. Ceramic or titanium plates work best for even heat distribution, preventing hot spots that can damage your hair. [PRODUCT LINK: BaBylissPRO Nano Titanium Straightening Iron] offers excellent results for this technique.
Before you begin styling, prep your hair with these essential products:
- Heat protectant spray applied to damp hair before blow-drying
- Lightweight styling cream for added smoothness and hold
- Texturizing spray on dry hair for extra grip and volume
- Light-hold hairspray to set your finished waves
Don’t forget to apply [PRODUCT LINK: TRESemmé Thermal Creations Heat Tamer Spray] from mid-length to ends before styling – this creates a protective barrier while adding subtle shine to your finished waves.
Q&A
Q&A: Loose Curls with a Flat Iron
Can you really curl your hair with a flat iron?
Yes, absolutely! A flat iron can create beautiful loose curls by wrapping sections of hair around the plates and slowly pulling downward. The key is using a rotating motion while maintaining consistent tension and speed for even heat distribution.
What temperature should I use on my flat iron for loose curls?
For fine or damaged hair, use 250-300°F, while thick or coarse hair can handle 350-400°F. Start with a lower temperature and gradually increase if needed – you can always add more heat, but you can’t undo heat damage.
How do I make my flat iron curls last longer?
Always start with completely dry hair and apply a heat protectant plus light-hold mousse before styling. After curling each section, let the curl cool in your palm for 5-10 seconds, then gently finger-comb and finish with a flexible-hold hairspray.
Why do my flat iron curls fall out quickly?
This usually happens because the hair wasn’t properly prepped, the sections were too large, or you combed through the curls too soon. Use smaller 1-2 inch sections and allow curls to set completely before touching them.
What’s the difference between curling iron curls and flat iron curls?
Flat iron curls tend to look more natural and relaxed with softer, looser waves, while curling iron curls are typically more uniform and defined. Flat irons also give you more control over the curl direction and can create varied curl patterns in a single styling session.
Wrapping Up
Mastering loose curls with a flat iron is all about technique – remember to use gentle tension, twist the iron away from your face, and work with medium heat to protect your strands. With a little practice, you’ll be creating effortless, beachy waves that look naturally gorgeous.
Ready to ditch the curling iron and try this game-changing technique? Your hair will thank you for the gentler approach, and you’ll love how versatile and long-lasting these loose curls can be.
Pin this for later so you can perfect your flat iron curling skills on your next styling day!
Loved these tips? Save this post to your Pinterest hair board and share it with a friend who needs a hair refresh!