This post may contain affiliate links. We may earn a small commission at no extra cost to you. See our disclosure policy.
You’ve just stepped out of the salon with that perfect blowout – your hair looks absolutely stunning with those bouncy, voluminous locks that seem to defy gravity. But then reality hits: how do you recreate that magic at home, and more importantly, how do you style your hair after a blowout to keep it looking fresh for days? Whether you’re heading to brunch with the girls or prepping for a date night, knowing the right techniques can transform your salon-fresh blowout into multiple gorgeous looks. The secret lies in understanding how to work with your hair’s newfound texture and volume, rather than against it.
Table of Contents
- Choose the Right Brush to Maintain Your Blowout Volume
- Apply Heat Protectant Before Using Any Hot Tools on Freshly Blown Hair
- Master the Art of Sectioning Hair for Professional Looking Curls and Waves
- Q&A
- Future Outlook
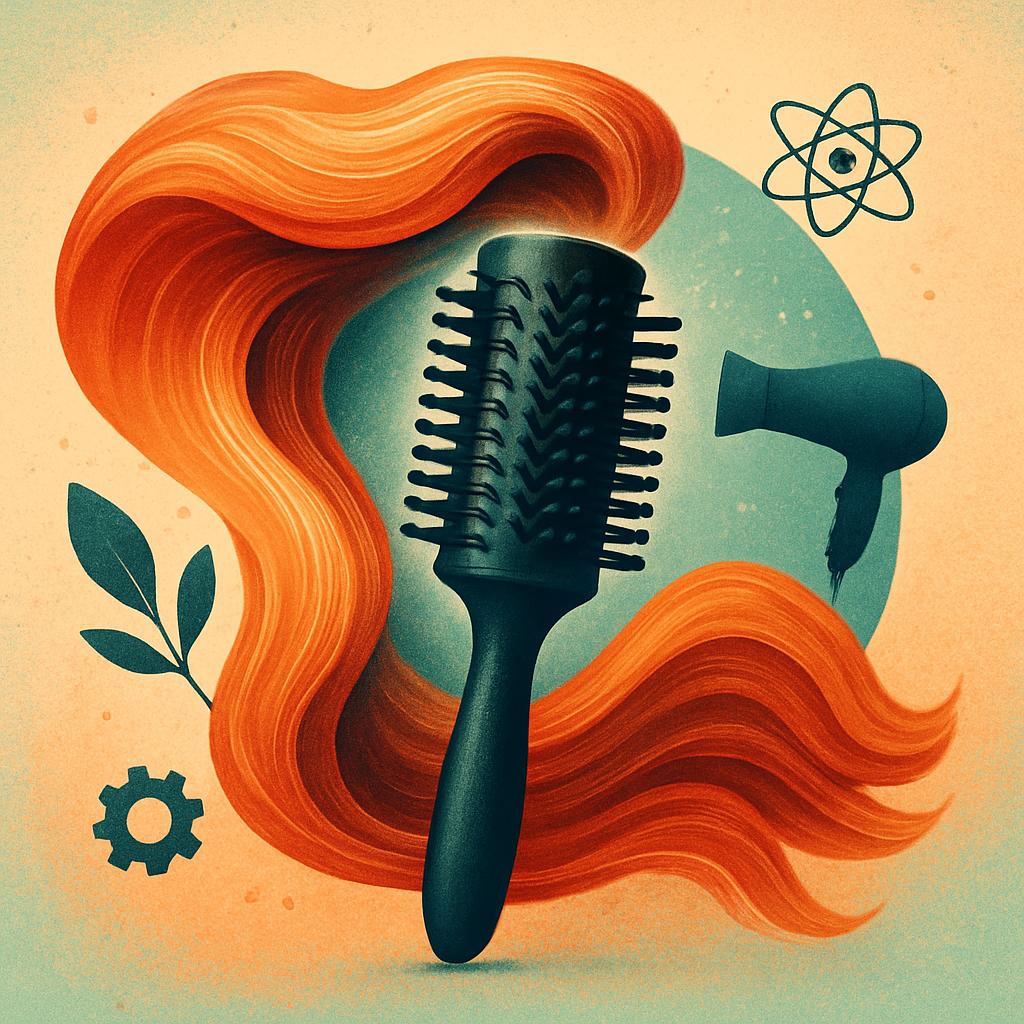
Choose the Right Brush to Maintain Your Blowout Volume
The brush you choose makes all the difference between maintaining that gorgeous blowout bounce and watching your volume deflate by noon. Round brushes with natural boar bristles are your volume’s best friend because they grip just enough hair to create lift without causing damage or static. For touch-ups throughout the day, reach for a paddle brush with widely-spaced bristles that won’t compress your carefully crafted volume.
Different hair textures need different brush approaches to keep that blowout looking fresh. Fine hair benefits from smaller barrel brushes that can get closer to the roots for maximum lift, while thicker hair needs larger barrels to smooth and maintain shape. Avoid metal brushes completely when touching up your style – they can create unwanted texture and frizz that ruins your smooth finish.
| Hair Type | Best Brush | Barrel Size |
|---|---|---|
| Fine/Thin | Boar bristle round | Small to medium |
| Thick/Coarse | Mixed bristle round | Large |
| Curly/Textured | Wide-tooth paddle | N/A |
- Invest in quality: [PRODUCT LINK: Mason Pearson Popular Mixture Brush] for long-lasting performance
- Keep it clean: Brush buildup transfers oils and products back to your hair
- Store properly: Protect bristles to maintain their shape and effectiveness
Pro Tip: Use your round brush to lift sections at the root while applying cool air from your blow dryer – this sets the volume and helps it last longer throughout the day.
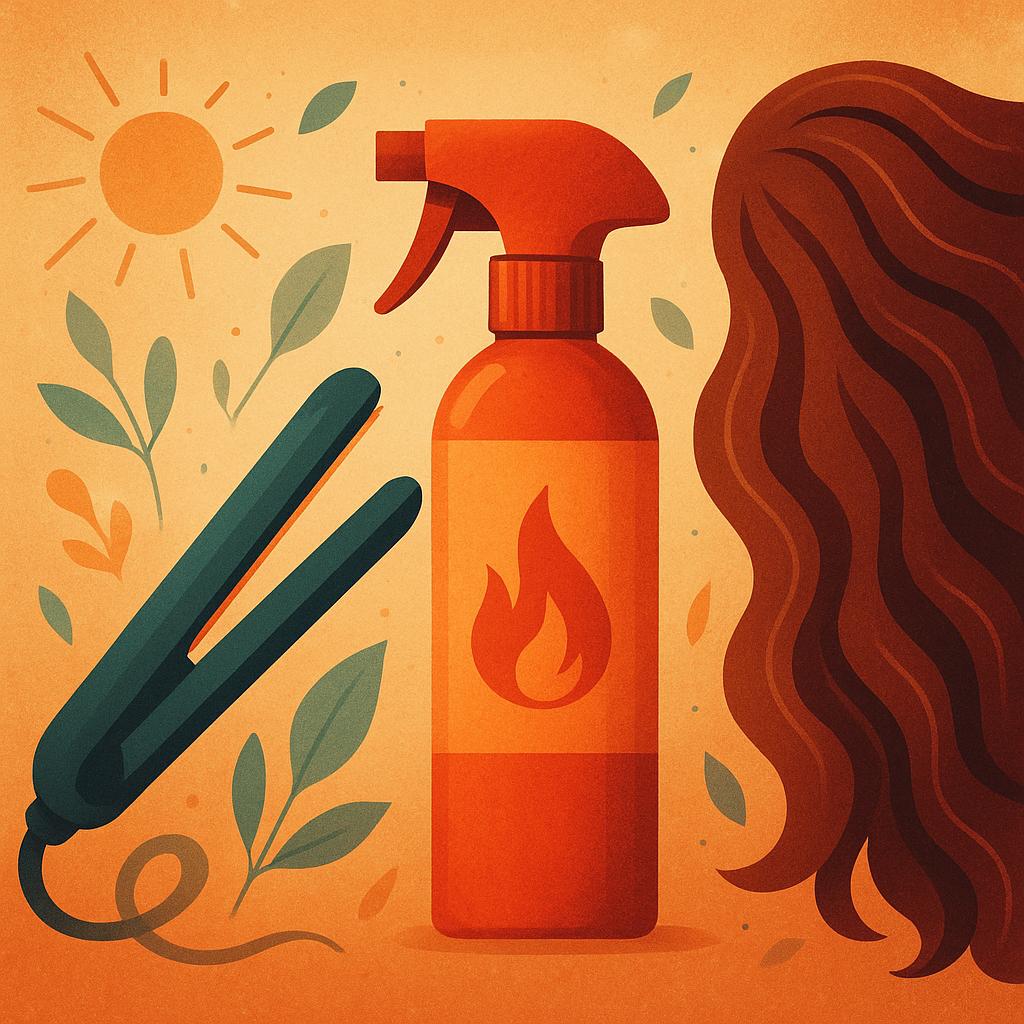
Apply Heat Protectant Before Using Any Hot Tools on Freshly Blown Hair
Your freshly blown-out hair is gorgeous, but it needs protection before you add any additional heat styling. Heat protectant products create a barrier between your hair cuticles and hot tools, preventing moisture loss and damage that can turn your silky blowout into a frizzy mess. Think of heat protectant as insurance for your hair – it’s a small step that makes a huge difference in maintaining your style’s longevity and your hair’s health.
The key is applying heat protectant to hair that’s completely dry from your blowout, working it through evenly from mid-length to ends. Avoid the roots unless you’re planning to curl or style that area, as product buildup can weigh down your volume. Always wait 2-3 minutes after applying heat protectant before using any hot tools to ensure the product has properly absorbed into your hair shaft.
| Hair Type | Best Heat Protectant Formula | Application Method |
|---|---|---|
| Fine Hair | Light spray or mist | Spray 6 inches away |
| Thick Hair | Cream or serum | Work through with fingers |
| Curly Hair | Leave-in treatment | Scrunch through sections |
- Look for ingredients like silicones, proteins, and ceramides in your heat protectant for maximum protection
- Choose products that offer protection up to 450°F for versatile styling options
- Consider multi-benefit formulas that add shine, reduce frizz, or provide hold alongside heat protection
- Test new products on a small section first to ensure compatibility with your hair type
Pro Tip: If you’re using multiple hot tools (like a flat iron after curling), reapply a light mist of heat protectant between tools to maintain maximum protection throughout your styling session.
Popular heat protectants that work beautifully on blown-out hair include [PRODUCT LINK: TRESemmé Thermal Creations Heat Tamer Spray] for fine to medium hair, and [PRODUCT LINK: Moroccanoil Perfect Defense Heat Protectant] for thicker textures that need extra nourishment. Remember, a little goes a long way – using too much product can weigh down your blowout’s volume and bounce.

Master the Art of Sectioning Hair for Professional Looking Curls and Waves
Creating salon-worthy curls and waves starts with understanding the fundamentals of hair sectioning. Think of your hair as a canvas that needs to be divided strategically to ensure every strand gets equal attention and styling power. The key is working with manageable portions that allow you to maintain consistent tension, heat distribution, and curl formation throughout your entire head. Horizontal sectioning works best for most curl patterns, starting from the nape of your neck and working upward in layers.
The magic number for sectioning depends on your hair’s thickness and length, but generally, you’ll want to create 4-6 horizontal layers with each section being about 1-2 inches wide. Use a rat-tail comb to create clean, straight parts, and secure upper sections with clips to keep them out of your way. For the most professional results, each curl should use a section of hair that’s no wider than the barrel of your curling iron or the width of your hot roller.
- Start with damp, not wet hair – your blowout should be completely dry before curling
- Use sectioning clips to keep unused hair away from your working area
- Work in horizontal layers from bottom to top for even heat distribution
- Keep sections uniform for consistent curl size and shape
- Don’t rush – proper sectioning takes time but ensures professional results
| Hair Type | Section Width | Number of Layers | Best Tool |
|---|---|---|---|
| Fine Hair | 1-1.5 inches | 4-5 layers | 1″ curling iron |
| Medium Hair | 1.5-2 inches | 5-6 layers | 1.25″ curling iron |
| Thick Hair | 1-1.5 inches | 6-8 layers | 1.5″ curling iron |
Pro Tip: Apply a lightweight heat protectant like [PRODUCT LINK: Thermal Protection Spray] to each section just before curling to prevent damage and help your curls last longer. Spray from mid-length to ends, avoiding the roots to prevent weighing down your volume.
Q&A
Frequently Asked Questions
How long should I wait to style my hair after a blowout?
You can style your hair immediately after a blowout since the heat styling is already complete. However, let your hair cool down for 2-3 minutes before adding any products or accessories to ensure the style sets properly.
What products should I use to maintain my blowout style?
Use a lightweight hair oil or serum to add shine and reduce frizz, focusing on mid-lengths and ends. For extra hold, apply a flexible-hold hairspray from 6-8 inches away. Avoid heavy creams or gels that can weigh down your freshly blown-out hair.
How can I add volume to my hair after a professional blowout?
Gently tease sections at the crown using a fine-tooth comb or teasing brush for instant lift. You can also flip your head upside down and scrunch in some texturizing spray, then flip back up for natural-looking volume.
Can I curl or straighten my hair right after a blowout?
Yes, but use a lower heat setting since your hair has already been heat-styled. Apply a heat protectant spray before using any additional hot tools. Keep styling sessions brief to prevent damage and maintain your blowout’s longevity.
How do I make my blowout last longer when styling at home?
Sleep with your hair in a loose top knot or silk scrunchie to prevent friction and frizz. Use dry shampoo at the roots on day two to refresh your style and absorb excess oils. Avoid touching or running your fingers through your hair throughout the day.
Future Outlook
With the right techniques and a few simple styling tricks, you can transform your fresh blowout into countless gorgeous looks that last for days. The key is working with your hair’s natural texture while using heat protectant and the proper tools to maintain that salon-fresh bounce.
So go ahead and experiment with these styling methods to get the most out of your blowout investment! Your hair will thank you for the extra care, and you’ll love having versatile styling options at your fingertips.
Pin this for later so you’ll have all these tips ready for your next blowout!
Loved these tips? Save this post to your Pinterest hair board and share it with a friend who needs a hair refresh!