Nail art has become a true expression of individuality and creativity. If you find yourself scrolling through nail design inspirations, wondering how to elevate your nail game, you’re not alone! Many of us crave stunning nails that showcase our style and personality. That’s why I crafted this guide filled with English beauty tips designed to help you achieve eye-catching nail designs right at home.
Whether you’re a nail art newbie or a seasoned DIY enthusiast, this post is tailored for you. If you love experimenting with colors, textures, and patterns, you will definitely find inspiration here. From floral motifs to minimalist styles, this guide will empower you to create beautiful nails that turn heads. Get ready to unleash your creativity with practical tips that make nail art accessible, fun, and uniquely yours!
In this post, you’ll discover a range of stunning designs, techniques, and trends that will help you transform your nails into a canvas of self-expression. Whether you’re preparing for a special occasion or just want to pamper yourself, this guide will equip you with the know-how to achieve flawless, salon-worthy nails at home.
Key Takeaways
– Discover various nail design styles inspired by English beauty tips, including floral, glitter, and minimalist options that suit any occasion.
– Explore step-by-step instructions to create stunning nail art, making it easier for you to replicate at home.
– Learn about the latest trends in nail design, helping you stay fashionable and current with your nail art.
– Find practical DIY tips for nail care and application that ensure long-lasting and beautiful results.
– Get inspired to personalize your nail art with meaningful designs that reflect your unique style and story.
1. Floral Frenzy: English Garden Inspirations
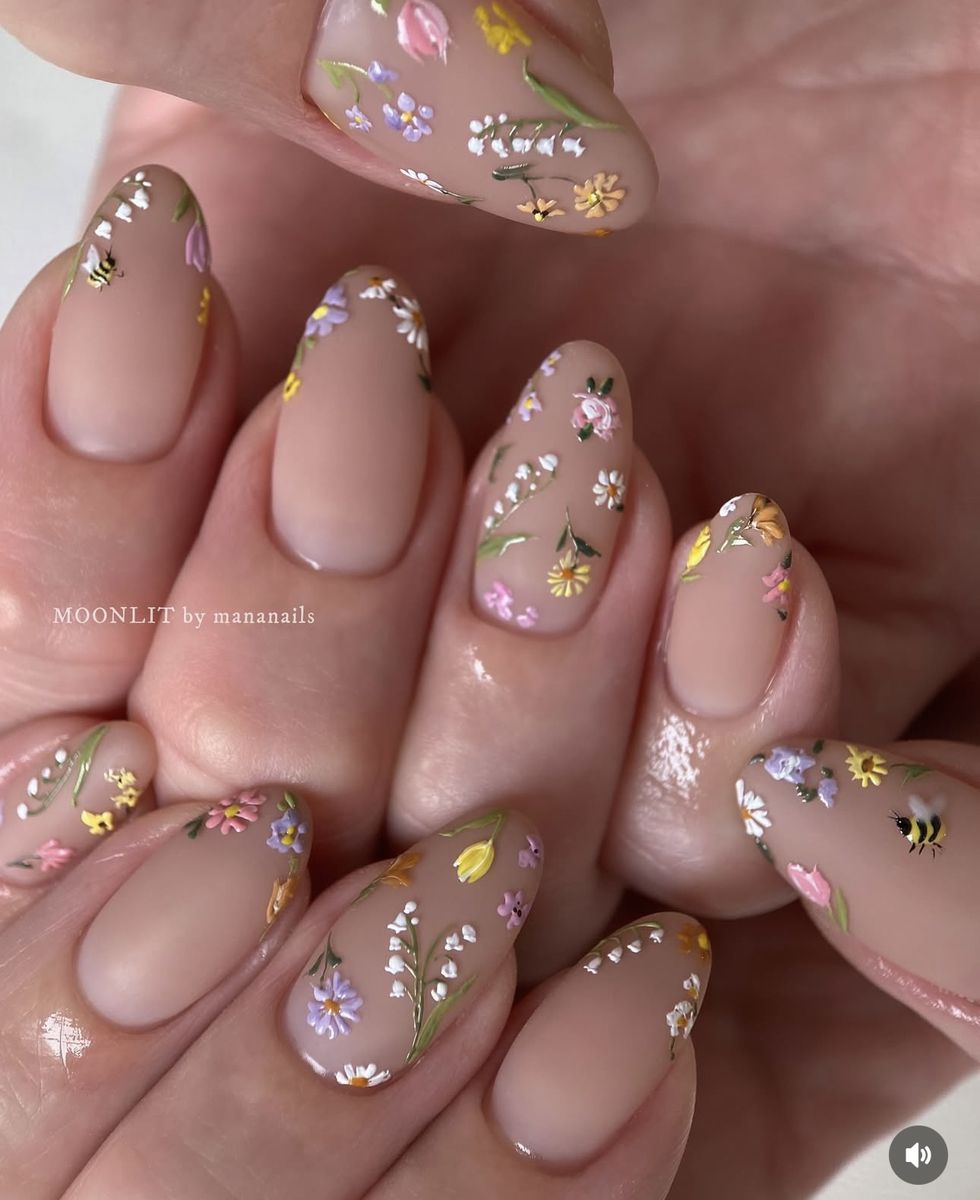
You can elevate your nail game with stunning floral designs that capture the essence of English gardens. These charming styles range from soft daisies to vibrant roses, perfect for brightening up your spring or summer look. Imagine delicate pastels or classic whites as your base, adorned with colorful petals and lush greenery. This approach is not only beautiful but also a fantastic expression of your personality.
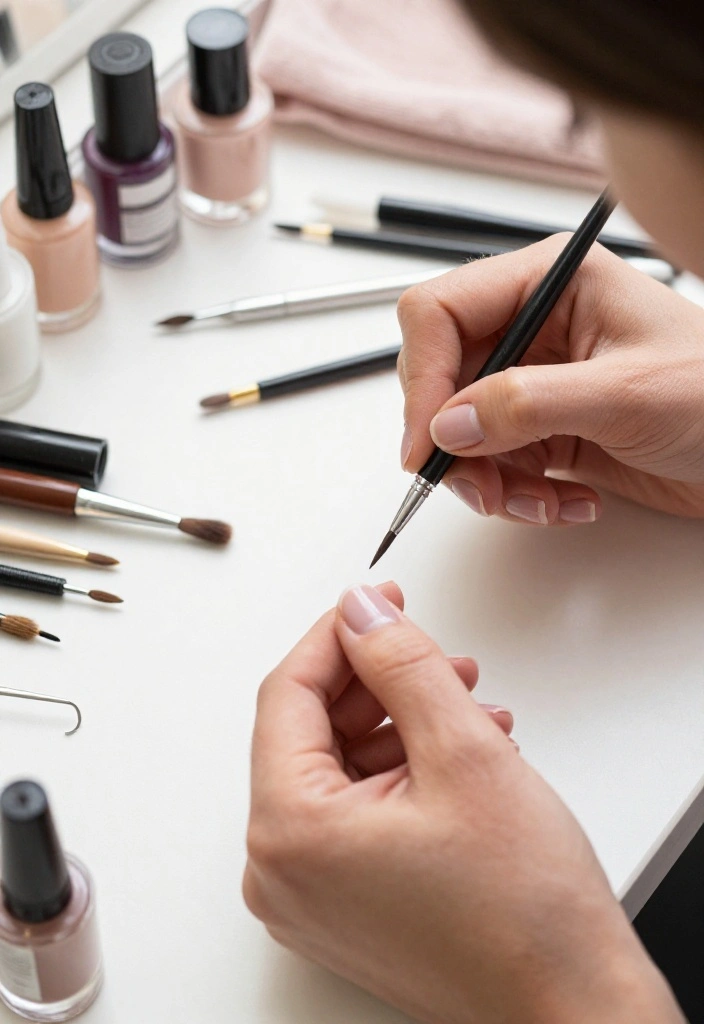
To achieve a breathtaking floral manicure, begin with a smooth base coat of your chosen color. Use a fine brush to add intricate details, and don’t hesitate to play with layering techniques for depth. Here are some helpful tips to perfect your floral nail art:
– Use nail stickers for easy guidance.
– Choose high-quality brushes for precision work.
– Always apply a top coat for lasting shine.
Whether you opt for a simple bloom or a full garden design, floral nails are a delightful way to showcase your style.
Image credit: Marinee Han on Pinterest
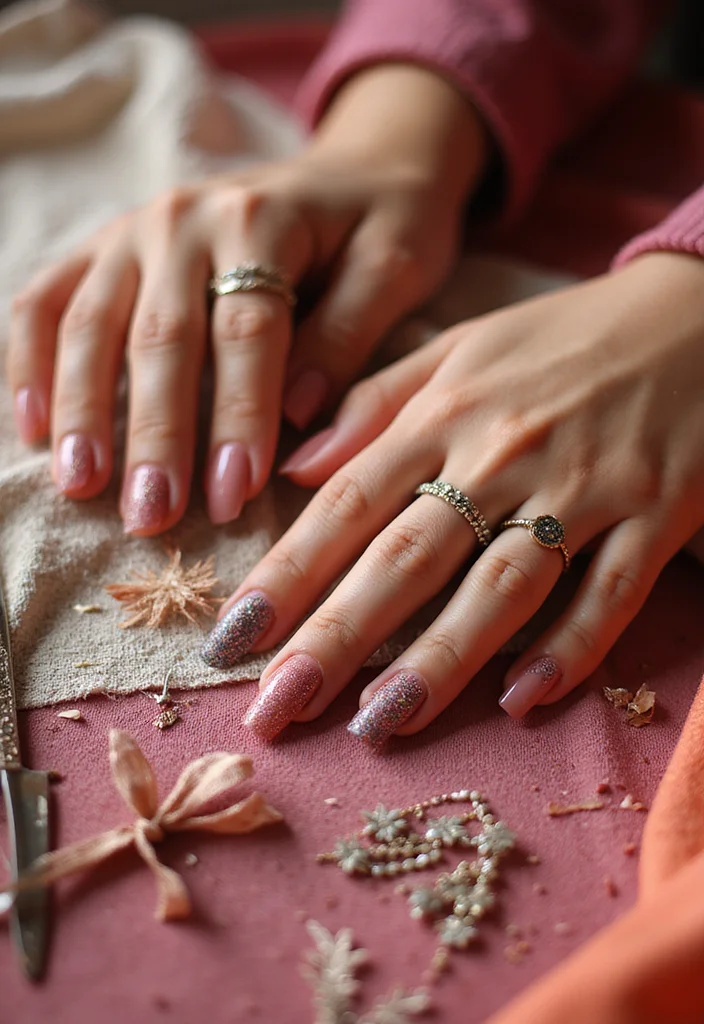
2. Glitter Glam: Adding Sparkle to Your Nails
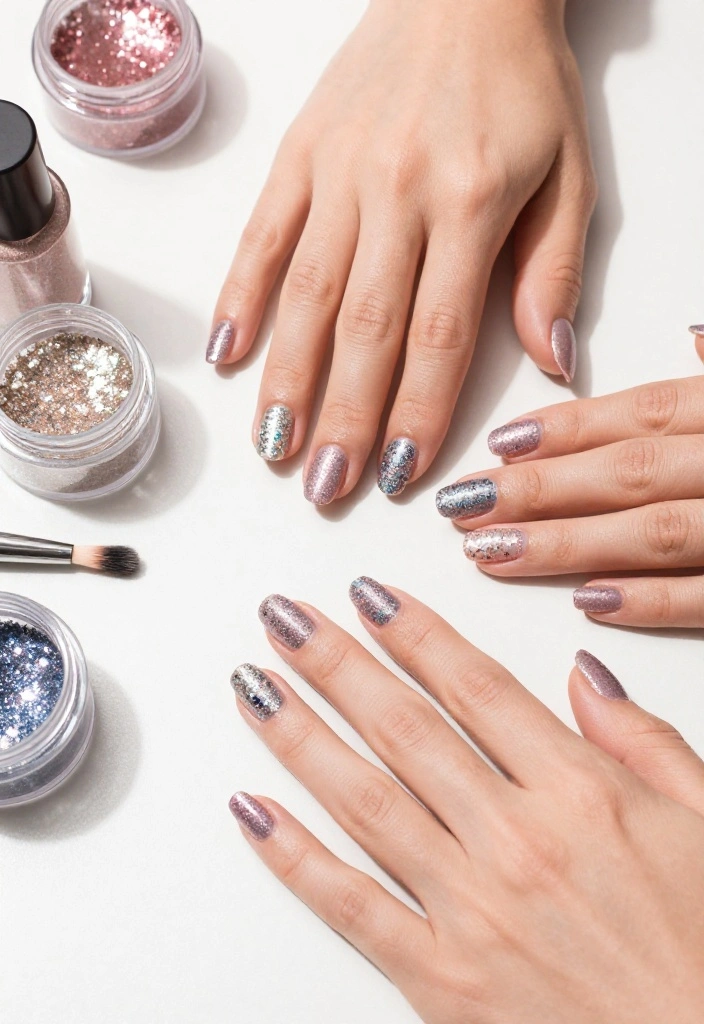
If you’re a fan of sparkle, glitter nails are the perfect way to shine! A touch of glitter can instantly elevate any manicure, whether you choose a full glitter look or add an accent nail. Imagine the fun of shimmering under the light, making your nails pop with personality!
To create a dazzling effect, layer your favorite glitter polish over a solid base color. Remember to apply it gradually for the best results—less can definitely be more! Here are some easy tips for mastering glitter nails:
– Use a makeup sponge to create a gradient effect.
– Combine glitter with matte nails for a stylish contrast.
– Finish with a thick top coat to smooth out the finish.
With the right techniques, your glittery nails can take you effortlessly from casual outings to glamorous evenings!
3. Classic French Twist: A Modern Take on an Old Favorite
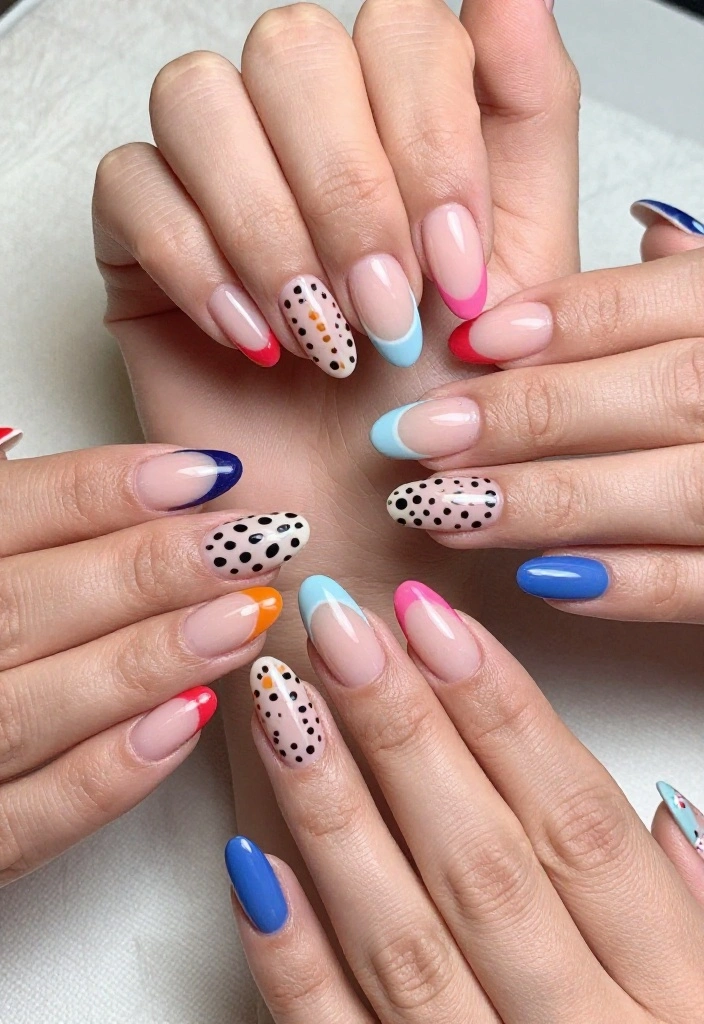
The classic French manicure is making a stylish comeback with fresh and creative twists. This timeless look is versatile for any occasion, and adding a splash of color or unique patterns can make it uniquely yours. Imagine a soft pink base paired with vibrant tips that match your outfit!
To modernize your French manicure, start with a nude or soft pink base and experiment with colors beyond the traditional white tips. Think about incorporating geometric shapes or small accents for an edgy touch. Here are some fun ideas to revamp your French manicure:
– Explore ombre effects transitioning from nude to bright hues.
– Add metallic or glittery tips for extra flair.
– Use tiny gems or pearls for a luxurious finish.
With these creative updates, your French manicure will stand out in any crowd!
How To Choose Stunning Nail Designs with English Beauty Tips
When it comes to selecting the perfect nail designs, you want something that reflects your personality while also being trendy. With so many options available, it can be challenging to find the right style. Here’s how to simplify your decision-making process and choose nail designs that you’ll love.
1. Consider Your Personal Style
Think about what styles resonate with you. Are you drawn to bold colors and patterns, or do you prefer something more subtle? Your nail art should represent your personality. Look through images of nail designs that catch your eye and take notes on patterns, colors, and motifs you enjoy. This will help you narrow down your choices.
2. Think About the Occasion
The event you’re attending can guide your nail design. For everyday wear, you might opt for minimalist designs or soft pastels. For special occasions like weddings or parties, consider bold glitter or intricate patterns. Make sure your nails complement your outfit and the event’s ambiance, so you’ll feel confident and stylish.
3. Choose the Right Colors
Color can significantly impact the overall look of your nails. Start by selecting colors that suit your skin tone. Light skin tones often look great with soft pinks and pastels, while darker skin tones can pull off vibrant colors like deep blues or rich reds. Additionally, consider seasonal colors—warm shades for fall and cool tones for summer. This adds a fun twist to your nail design.
4. Assess Your Skill Level
If you’re considering DIY nails, evaluate your nail art skills. Simple designs like polka dots or stripes are great for beginners and require minimal tools. If you’re more experienced, you might want to try detailed floral patterns or geometric shapes. Choose a design that matches your comfort level to ensure you enjoy the process and get the best results.
5. Plan for Maintenance
Some nail designs require more upkeep than others. If you opt for intricate art, be prepared for touch-ups. Consider how often you want to visit a salon or if you’ll maintain the design at home. Simple designs or solid colors typically need less maintenance, making them ideal for those with a busy lifestyle.
6. Explore Current Trends
Stay updated on nail trends to keep your designs fresh. Check out social media platforms like Instagram or Pinterest for inspiration. You can find everything from seasonal themes to unique textures and patterns. Incorporating trendy elements can give your nails a modern twist while still retaining your personal touch.
Pro Tip: If you’re unsure which design suits you, try nail wraps or press-on nails. This lets you experiment with different styles without a long-term commitment, making it easy to change your look whenever you want!
By considering these factors, you can choose nail designs that not only look great but also reflect who you are. With the right English beauty tips, you’ll be well on your way to stunning nails that will surely draw attention. Happy nail designing!
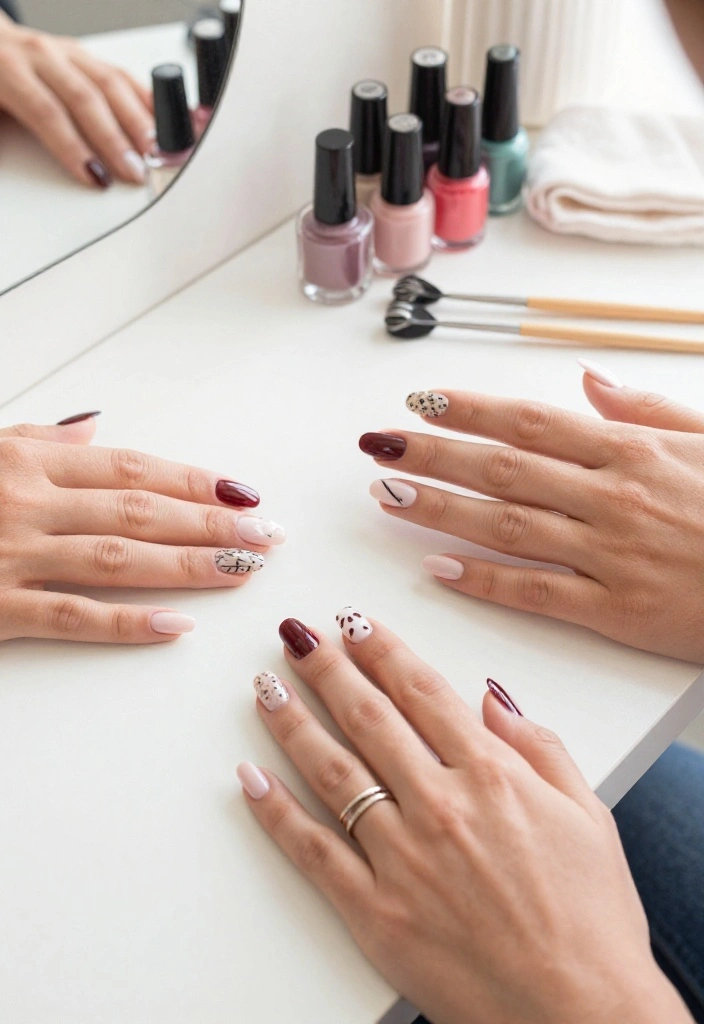
4. Minimalist Magic: Less is More
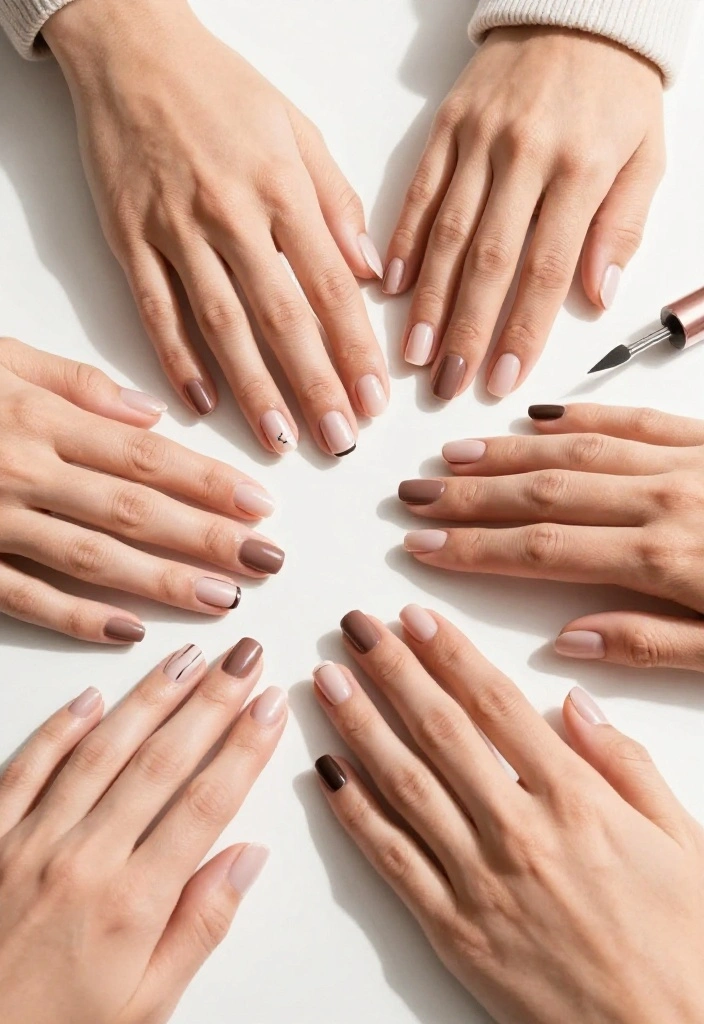
Minimalist nail designs are all about chic simplicity, offering a sophisticated look that never goes out of style. This trend perfectly suits those who prefer a clean aesthetic while still allowing for creativity through basic shapes and colors.
To master minimalist nails, focus on solid colors paired with geometric shapes or clever use of negative space. A nude base with a sleek black line can create an effortlessly stylish look. Here are some tips for achieving that minimalist magic:
– Use nail tape for clean, sharp lines.
– Stick to a monochromatic palette for a sleek vibe.
– Experiment with matte and glossy finishes for added depth.
This trend allows you to express your personality with understated elegance.
5. Textured Trends: Playing with 3D Designs
Texture is the new frontier in nail art, adding a playful and exciting dimension to your designs. From soft velvety finishes to bold 3D embellishments, these textured trends bring your nails to life.
To create stunning textured nails, experiment with products like velvet powder or nail foils. Layering techniques can yield spectacular results that grab attention. Here are some creative ideas for incorporating texture:
– Apply a matte top coat for a soft, velvety look.
– Add beads or sequins for a touch of glam.
– Try a lace stamping technique for a sophisticated finish.
With textured nails, your creativity can truly shine and make a bold statement!
6. Bold Colors: Make a Statement
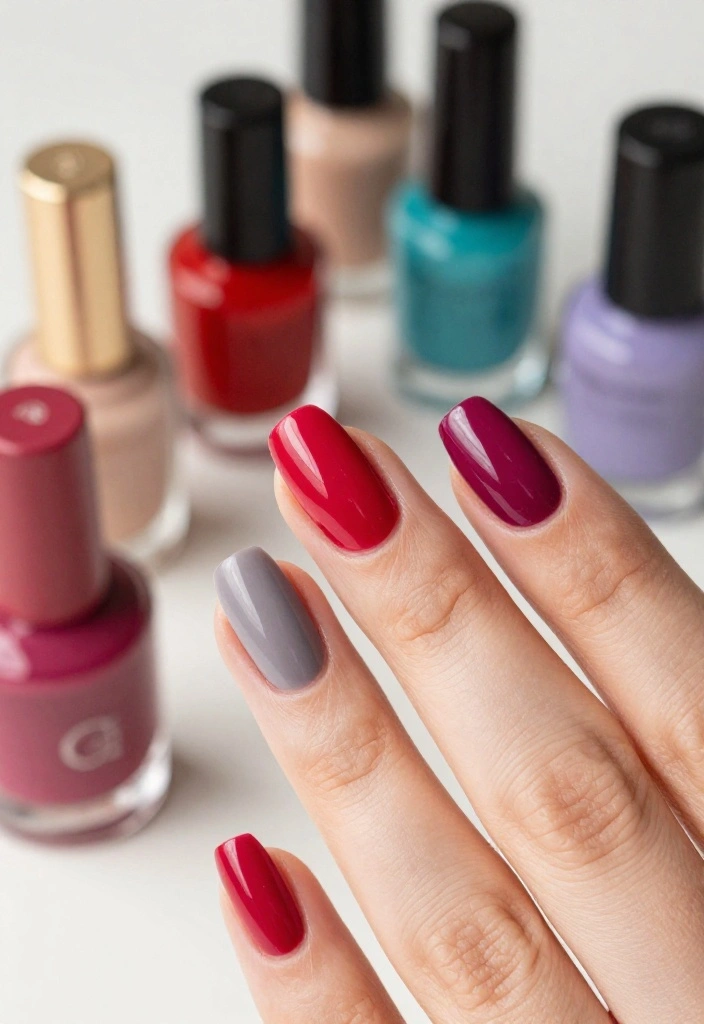
Dive into the bold color trend in nail art! Vibrant shades can showcase your confidence and creativity, making them a perfect choice for any season. It’s time to embrace bright hues and step out of your comfort zone!
To create a bold look, don’t hesitate to mix and match your favorite colors. A striking color block design or a rainbow ombre can be incredibly eye-catching. Here are some tips for working with bold colors:
– Layer contrasting colors for a fun, playful effect.
– Use a glossy top coat to enhance vibrancy.
– Always apply a base coat to protect your nails.
With bold colors, your nails can become a fantastic expression of your unique style!
7. Artistic Abstracts: Let Your Imagination Run Wild
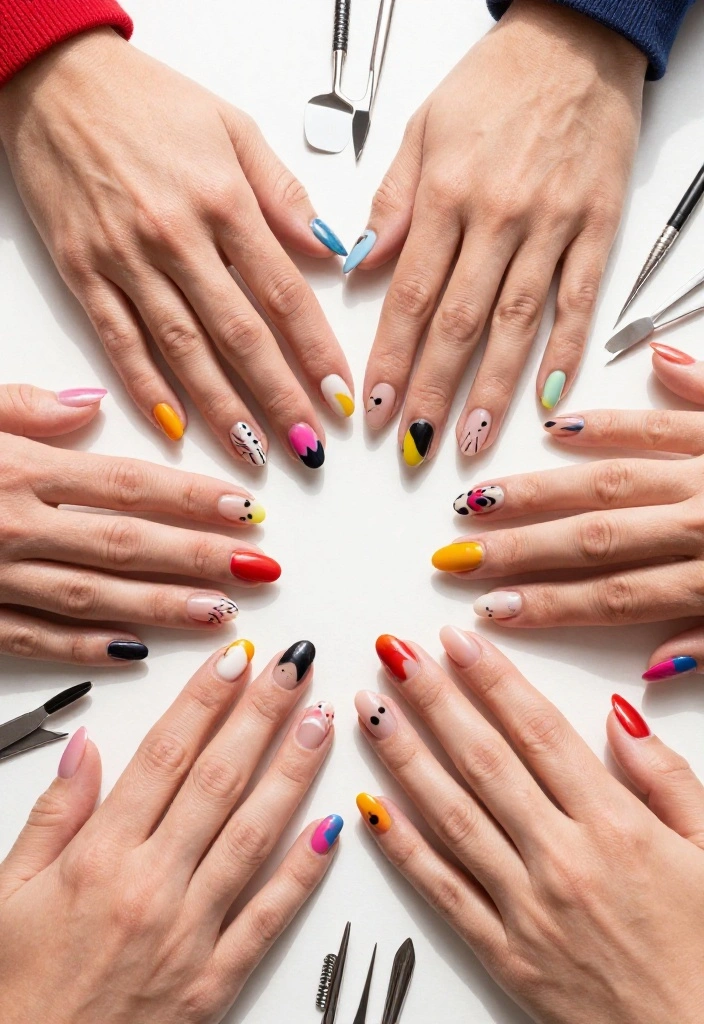
Abstract nail art is a fantastic way to express your creativity and individuality. This trend encourages experimentation with shapes, colors, and textures, allowing for unique and personal designs.
To create your abstract nails, start with a base color and let your imagination flow. Use brushes, sponges, or even your fingers to apply contrasting colors in spontaneous patterns. Here’s how to make your abstract art shine:
– Combine matte and glossy finishes for an intriguing effect.
– Add lines or dots in unexpected places for a playful touch.
– Try sponge techniques for a soft color blend.
With abstract nails, each manicure becomes a canvas for your imagination!
8. Seasonal Themes: Celebrate the Year
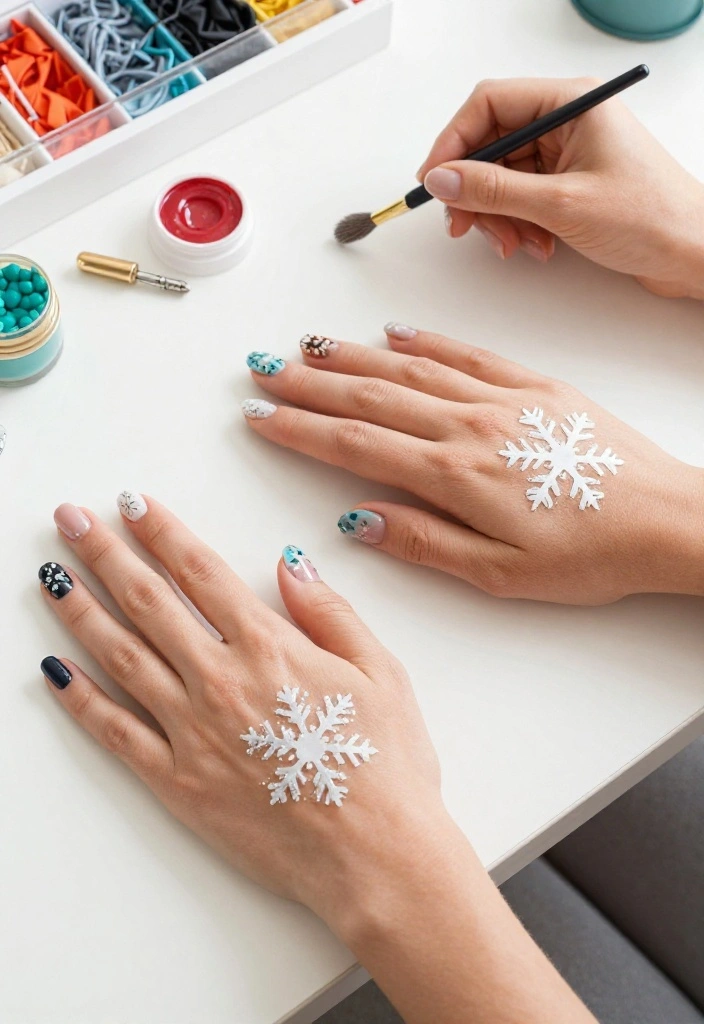
Celebrate the changing seasons through your nail designs! Seasonal-themed nail art keeps your style fresh and fun all year round. From winter snowflakes to vibrant summer blooms, there’s endless inspiration waiting for you.
Begin by selecting colors and designs that capture the essence of each season. For example, warm earth tones for fall and icy blues for winter can set the mood perfectly. Here are some tips for creating seasonal nail art:
– Use seasonal colors as your base and add small details.
– Incorporate symbols like leaves for fall or seashells for summer.
– Change your designs with the seasons to keep things exciting!
With seasonal nails, you can celebrate each time of year right on your fingertips.
9. Nail Art with Meaning: Personal Touches

Nail designs can serve as a beautiful reflection of your personal journey and beliefs. Incorporating meaningful symbols or colors into your nail art adds a special and heartfelt touch.
To create nail designs that resonate with you, think about colors or symbols that represent your life—be it a cherished color, a significant symbol, or even a favorite quote. Here are some ways to personalize your nail art:
– Choose colors that resonate with your personality.
– Use tiny symbols like hearts or initials that hold significance.
– Create a design that tells a story or represents a special moment.
With meaningful nail art, every glance at your nails can evoke fond memories and remind you of what matters most.
10. DIY Nails: At-Home Tips for Nail Art Mastery
If you’re eager to elevate your nail artistry, DIY nails are an exciting path to explore. With the right tools and techniques, you can achieve salon-quality designs right at home.
Start by gathering essential nail art supplies like brushes, dotting tools, and good-quality polishes. Remember, practice makes perfect, so don’t shy away from experimenting! Here are some DIY tips for mastering nail art at home:
– Follow online tutorials for step-by-step guidance.
– Maintain a clean workspace to keep tools organized.
– Practice on nail wheels or fake nails to hone your skills.
With a dash of creativity and practice, DIY nails can be both fun and rewarding, giving you gorgeous nails you’ll love to show off!
Conclusion
Nail art is an exciting way to express your personality and creativity through beauty. From seasonal themes to meaningful symbols, the possibilities are endless.
Whether you’re a seasoned pro or a DIY newbie, the stunning nail designs inspired by English beauty tips can help you elevate your nail game. So go ahead, experiment with colors and styles, and let your nails do the talking!
Frequently Asked Questions
What are beginner-friendly nail designs inspired by English beauty tips?
Here are beginner-friendly nail designs you can try at home with English beauty tips inspiration.
Start with a clean base coat and apply a soft pastel shade for a chic, wearable canvas—this classic nail designs look is perfect for DIY nails. Add a single metallic stripe across the nail using tape for a subtle accent, then seal with a glossy top coat for long-lasting shine. For extra flair, use a dotting tool to add tiny white polka dots on one or two accent nails to create a playful yet polished finish.
What tools do I need to recreate chic nail designs at home with English beauty tips?
To recreate chic nail designs at home with English beauty tips, gather these essentials: base coat, top coat, a few quality nail colors, a nail file and buffer, and a cuticle pusher. For DIY nails, add striping tape, a dotting tool, and a fine brush for precise lines. A quick-dry top coat helps you finish faster, and a small cleanup brush with acetone makes tidy edges easy. Finish with cuticle oil to keep nails and skin hydrated.
How can I make my DIY nails last longer while trying new nail designs?
Prep is key to making your DIY nails last longer. Start with clean nails, push back cuticles, and apply a good base coat. Apply two ultra-thin layers of color rather than one thick coat, allowing each to dry fully. Seal with a strong top coat and reapply every couple of days. Avoid water exposure for the first 12-24 hours after painting, and consider a nail-strengthening base coat if your nails are prone to splitting. For longevity, cap the free edge when applying color. These steps help your nail designs endure daily wear while staying polished.
Are there quick nail designs I can do in under 30 minutes that still look stunning?
Yes! Here are three fast ideas you can do in under 30 minutes that fit the English beauty tips vibe: 1) Minimal color block: apply two contrasting shades with a diagonal line using striping tape; 2) Polka-dot accent: base color with a few dotted nails using a dotting tool; 3) Soft French twist: a neutral base with a metallic or white tip. Steps: base coat, color, design with tape or dotting tool, top coat, clean edges. Use thin layers to speed up and prevent smudging. These nail designs look chic without taking hours.
How should I choose colors and finishes to match the English beauty tips aesthetic?
Think British-inspired palettes: muted pastels, soft neutrals, ivory, blush pink, sage, navy, and wine for a bold twist. For finishes, go with cream or satin for a timeless vibe, or glossy for a polished look. Test combos on a swatch nail or your non-dominant hand to see what works with your skin tone and outfits. When in doubt, pair a neutral base with an accent nail in a jewel tone to keep it classy and versatile—perfect for nail designs you can wear with confidence as part of your English beauty tips routine.
Related Topics
nail art
English beauty tips
DIY nails
stunning designs
beginner friendly
easy techniques
minimalist nail art
trendy nail designs
seasonal styles
quick tips
creative nail ideas
advanced nail art